Taking good product photos for e-commerce is essential in today’s competitive online market. Before you start shooting, it’s crucial to properly prepare to ensure you capture high-quality images that effectively showcase your products. Begin by determining the photos’ purpose and the specific product features you want to highlight. This will help guide your shot selection and composition.
Plan the shoot accordingly, considering location, background, lighting, and necessary equipment. If you decide to hire a professional photographer, choose someone with experience in product photography. Otherwise, invest in a good camera or use a smartphone with high-resolution capabilities. Additionally, gather equipment, including a tripod, to eliminate the camera shake. By thoroughly preparing for the shoot, you’ll be setting yourself up for success in capturing stunning product photos that will attract and engage potential customers.
Selecting the Right Location and Background
Selecting the right location and background for your product photography is essential to creating high-quality e-commerce product photos. Here are some tips to help you make the right choices.
First, consider the location. Look for an area with ample natural light, like near a window. Natural light can help illuminate your product more evenly and create a softer, more natural look. If natural light isn’t available or sufficient, you can use artificial lighting to achieve a similar effect.
Next, choose the background carefully. Opt for a plain or light-coloured backdrop to keep the focus on the product itself. This not only simplifies the editing process but also ensures that your product stands out and catches the attention of potential customers.
By selecting the right location with good lighting conditions and using a plain or light background, you can create high-quality product photos that enhance your e-commerce listings and inspire customers to make purchasing decisions. Remember to experiment and adjust as needed to achieve the best results.

Setting Up the Lighting
Setting up lighting is crucial for taking good product photos for e-commerce. Proper lighting can make a significant difference in the overall quality of your images. Here are some tips on how to set up the lighting for your product photography:
Natural Light: If possible, take advantage of natural light. Position your product near a window where it can receive soft, diffused light. Natural light provides a beautiful and natural look to your photos, making your products appear more appealing to potential customers. However, remember that natural light can vary throughout the day, so choose when the lighting conditions are optimal for your product.
Artificial Light: When natural light is unavailable or consistent enough, you can opt for artificial light sources. Studio lights or continuous lights can provide a controlled and consistent light source. Position the lights at 45-degree angles to your product to create depth and dimension. Use reflectors or bounce cards to fill in shadows and achieve a more balanced look.
Light Box: A light box, also known as a light tent, is a great option for consistent lighting. It is a portable box lined with white diffusion material that helps to soften and diffuse light. This eliminates harsh shadows and creates a clean, professional look for your product photos. Place your product inside the lightbox and position the lights outside the box to illuminate your product.
In summary, setting up the lighting for your product photography is essential in creating high-quality images. Whether you choose natural, artificial, or a lightbox, ensure your product is well-lit and appears as visually appealing as possible to attract potential customers.
Taking the Photos
Regarding e-commerce, high-quality product photos are crucial for attracting potential customers and increasing conversion rates. Taking good product photos involves careful consideration of lighting, background, and colour accuracy. Whether you’re using a professional camera or a smartphone, there are several key factors to keep in mind to ensure the best results. In this article, we will discuss the importance of lighting and white balance, the use of bounce cards to control shadows, and the role of colour correction in creating beautiful and accurate product photos. By following these tips, you can create visually appealing product images that effectively showcase your products and entice customers to make purchasing decisions.

Utilizing Natural Light or Artificial Light
When taking good product photos for e-commerce, lighting is one of the key considerations. There are two main options to consider: natural light and artificial light. Each option has its advantages and considerations.
Natural light can result in beautiful product photos with a soft and natural look. There are a few steps to setting up the camera, products, and window to achieve optimal lighting with natural light. Firstly, position the product near a window where natural light can shine directly onto it. This helps to create soft shadows and highlights. Next, set up the camera on a tripod to ensure stability and clarity in the photos. Adjust the exposure settings to ensure the product is well-lit without being overexposed.
However, there can be challenges when using natural light, such as harsh lighting or shadows. If the natural light is too harsh, consider using a sheer curtain or diffusing material to soften the light. Additionally, if shadows are appearing, reposition the product or use a white corkboard or bounce card to reflect light onto darker areas.
On the other hand, artificial light can provide consistency and control over lighting conditions. Setting up artificial lighting for product photography requires a light source, such as studio lights or lamps, and light modifiers, such as softboxes or umbrellas, to diffuse and control the light. This allows for more flexibility and the ability to create different lighting effects.
In conclusion, whether natural or artificial light for product photography, it’s essential to set up the camera, products, and lighting properly. Experiment with different lighting techniques to achieve the desired effect and showcase your products best.
Capturing Images from Multiple Angles
In e-commerce product photography, capturing images from multiple angles is crucial in showcasing your products effectively. By incorporating different camera angles, you provide potential customers with a comprehensive view of the product, allowing them to make informed purchasing decisions. Here’s how to achieve this:
Experiment with Different Angles: Varying camera angles can give a unique perspective on your product. Consider shooting from the front, back, side, and top angles. This enables customers to visualize the product’s dimensions and features accurately.
Showcase Product Features: Each angle can highlight different product features. For example, you capture a close-up of intricate details or a side view to highlight its size. This comprehensive presentation enhances visual appeal and builds trust and confidence in your potential customers.

Maintain Consistency: To ensure professionalism in your product presentation, keeping the camera and tripod position consistent while rotating the product is essential. This consistency will create a cohesive look across all product images, offering a seamless experience for customers browsing through your online store.
By implementing these techniques and capturing images from multiple angles, you can enhance the visual appeal of your product listings. This attention to detail and comprehensive product view can increase conversions and sales. Consistency is key, so invest time finding the right camera angles to optimize your e-commerce product photography.
Editing Photos
Once you have captured your product images, editing them is the next step to enhance their overall quality and appeal. With the right editing techniques, you can significantly improve the appearance of your product photos for e-commerce. Here are some tips for editing your product photos:
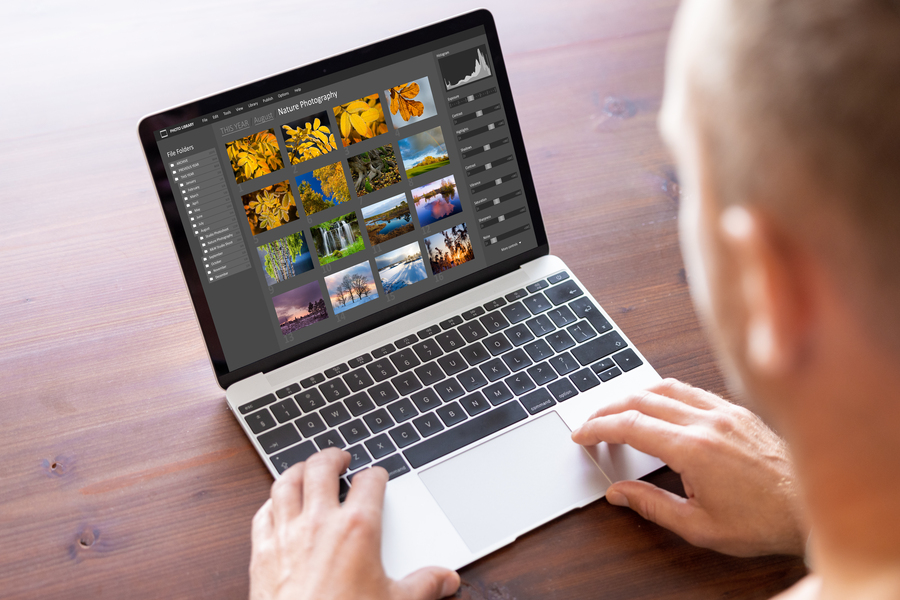
Use Photo Editing Software: Invest in professional photo editing software like Adobe Photoshop or Lightroom. These tools offer a wide range of editing features, allowing you to adjust brightness, contrast, colour balance, and more. Familiarize yourself with the software’s functionalities to make the most out of your edits.
Remember, while editing can improve the quality of your product photos, it’s important not to overdo it. The goal is to provide accurate and appealing representations of your products to attract potential customers and increase conversion rates.

Cropping and Resizing Images for Optimization
Cropping and resizing images is a crucial step in optimizing product photos for e-commerce. By properly adjusting the dimensions of your images, you can enhance the user experience on your website and improve page load speed.
To accomplish cropping and resizing, various image editing tools are available. Canva, Snapseed, Pixlr, and Fotor are widely used and user-friendly options. These tools allow you to easily adjust the dimensions of your images, ensuring they are optimized for your e-commerce platform.
In conclusion, cropping and resizing images are vital in optimizing product photos for e-commerce. Utilizing the right tools and adjusting dimensions can enhance user experience, improve page load speed, and create a visually appealing website.


